
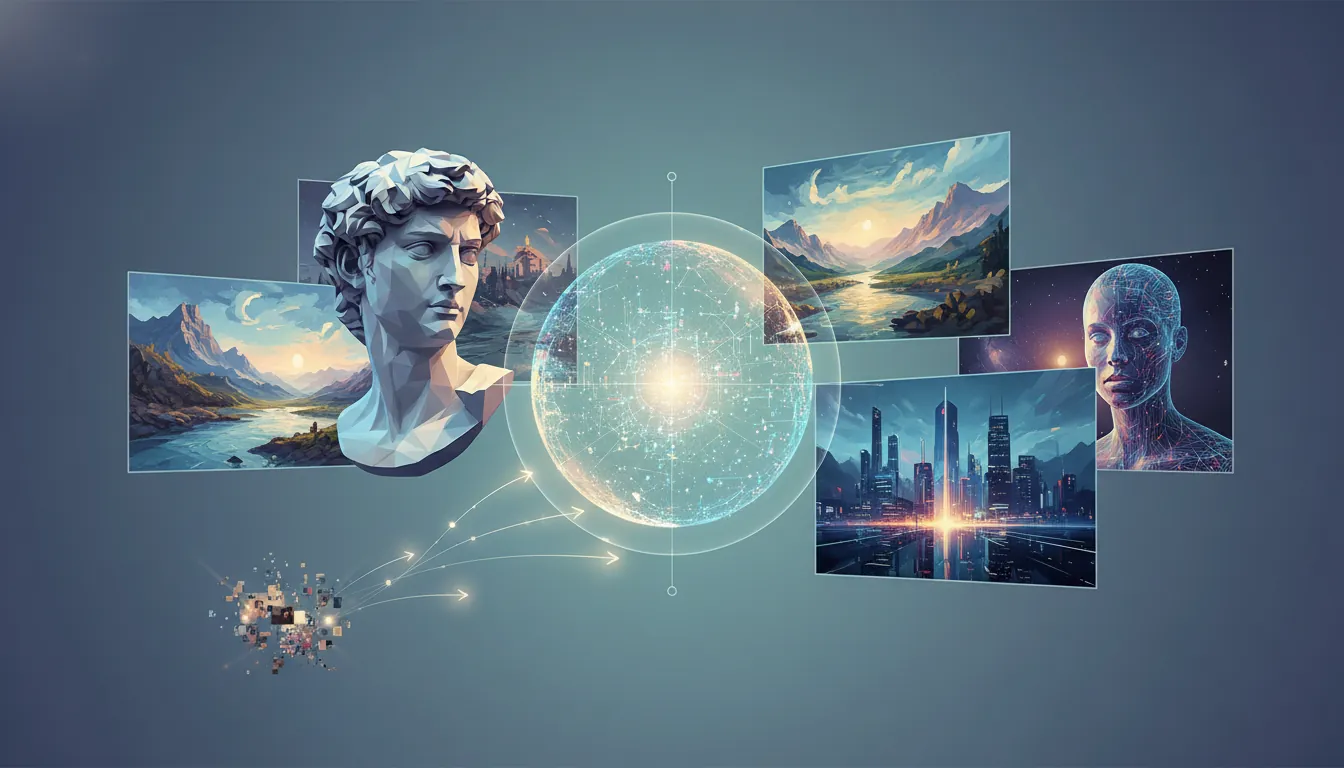
Most disappointing AI images are not caused by a weak model. They usually come from vague prompts, mixed visual instructions, or trying to fix everything in one pass. If you want to know how to get better AI image results, the fastest approach is to define one subject, one scene, one style direction, and one success metric before you generate. Then refine the image one variable at a time instead of restarting from zero. On GenImg, that usually means creating a solid first draft with the AI Image Generator, switching to the AI Image Editor when the composition is close, and only using cleanup tools after the core image already works.
Extractable Step Summary
- Choose one clear goal for the image before you write the prompt.
- Build the prompt in layers: subject, setting, style, composition, and constraints.
- Generate a simple first pass, then change only one variable per revision.
- Move to editing and cleanup after the structure is right, not before.
- Save the winning prompt pattern so future images start from a proven base.
Direct Answer and Expected Outcome
The practical answer to how to get better AI image results is to reduce ambiguity. Better images come from tighter inputs, not longer prompts by default. A good prompt tells the model what matters most, what can stay flexible, and what must be avoided.
For example, "a stylish product photo" is broad enough to produce ten different directions. "A matte black wireless headset on a light gray desk, soft window light, shallow depth of field, realistic product photography, square crop" gives the model much less room to guess.
That structure also makes revisions faster. If the pose is correct but the lighting is wrong, edit the lighting only. If the object looks good but the background is distracting, keep the subject and swap the scene. OpenAI's image generation guide treats iterative edits as a core workflow, and that matches what most users find in practice: once the main composition is close, focused edits outperform full rewrites.
What to Prepare Before You Start
Before you generate anything, get these five inputs ready:
- A single use case. Decide whether the image is for a blog hero, a product tile, a social post, or an ad creative. A 1:1 product image, a 4:5 social visual, and a 16:9 hero banner should not share the exact same prompt.
- A visual target. Pick the look you want: realistic product photography, cinematic portrait, flat illustration, editorial collage, or clean UI mockup. If style is fuzzy, output quality will be fuzzy too.
- A short prompt template. Start with subject, then setting, then style, then composition, then constraints. Google Cloud's prompt and image attribute guide uses the same logic by separating prompt elements such as subject, context, lighting, framing, and aspect ratio.
- A revision rule. Change one important variable at a time. That could be camera angle, color palette, mood, or background complexity.
- The right tool path. If you are still shaping the main concept, begin in the AI Image Tools flow. If the subject is correct but edges, objects, or local details are off, switch to editing instead of generating again.
How to Get Better AI Image Results Step by Step
1. Start with a prompt that names the subject first
Lead with the thing the image is about. If the subject is not stable, every downstream detail becomes unstable too. Put the noun phrase up front: "a ceramic coffee mug," "a futuristic running shoe," "a golden retriever in a city park," or "a minimalist SaaS dashboard on a laptop screen."
This sounds obvious, but it solves a common problem. Many users start with style words such as "beautiful," "stunning," or "high quality." Those words rarely give the model enough structure. A stable subject does.
2. Add the scene and point of view
Once the subject is clear, tell the model where it is and how the viewer sees it. Mention the background, camera distance, angle, crop, or framing. A front-facing portrait, an overhead food shot, and a three-quarter product angle produce very different results even with the same subject and style.
This is where better AI image results often appear quickly. A lot of "bad quality" complaints are really composition complaints. The rendering may be fine, but the framing is wrong. Midjourney's Prompt Basics makes a similar point: specific wording and specific parameters give the model clearer visual direction than generic taste words.
3. Choose one style direction, not three competing ones
If you mix "realistic," "anime," "editorial fashion," and "3D render" in the same prompt, you are asking for conflict. Pick one primary style and one secondary modifier at most. For instance:
- realistic product photography with soft daylight
- hand-drawn children's book illustration with warm colors
- cinematic sci-fi portrait with dramatic rim light
When your first result looks close but not right, stay inside that style family. Do not jump from realism to illustration just because the first image was weak. Tight iterations beat random pivots.
4. Use constraints to prevent obvious failure
After subject, scene, and style are set, add constraints that remove common errors. Useful constraints include:
- clean background
- centered composition
- no extra hands or duplicate objects
- readable product silhouette
- natural skin texture
- minimal text elements
Negative prompting can help here, especially when distracting artifacts keep returning. The Google guide above recommends stating unwanted elements plainly rather than burying them in a long paragraph. In practice, short exclusions usually work better than emotional instructions such as "please make this less weird."
5. Generate a simple first pass
Your first pass should answer one question only: is the concept direction correct? Do not use the first image to solve every small defect. If the answer is yes, keep that version and refine. If the answer is no, rewrite the prompt architecture before generating again.
6. Edit locally instead of restarting globally
This is the step many people skip. If the main composition works but the background is cluttered, swap or simplify the background. If edges are rough or the subject has extra visual noise, clean that specific area. If the subject is strong but the cutout is messy, use the AI Background Remover after the main image is approved.
Generation creates options. Editing improves precision. Cleanup improves usability. Treat them as separate stages and your success rate goes up.
7. Save the prompt pattern that worked
When you finally get a strong result, do not move on too quickly. Save the winning structure. Note the order of prompt parts, the aspect ratio, the lighting phrase, and any negative constraints that made the difference.
That turns one good image into a reusable system. The next time you need a blog hero, product preview, or social visual, you start from a prompt that has already proven itself instead of rebuilding from scratch.
Common Mistakes That Hurt Get Better AI Image Results
The biggest mistake is chasing quality with more words. Long prompts are not automatically better. Better prompts are clearer. If the prompt contains five styles, two subjects, and no composition guidance, the model still has to guess.
Another mistake is changing everything between versions. When users rewrite the subject, background, lens feel, mood, and color palette all at once, they lose the thread of what actually helped. Strong iteration is controlled iteration.
A third mistake is fixing polish before structure. Upscaling, sharpening, and background cleanup are useful, but they cannot rescue a weak composition. Get the shape, subject placement, and scene relationship right first. Then use enhancement, editing, or cutout tools to finish the image for production.
Finally, many users ignore the delivery context. A social post can tolerate more stylization than a marketplace thumbnail. A blog hero can carry atmosphere. A product tile usually needs cleaner edges and simpler composition. Better AI image results depend on matching the image to where it will be seen.
How to Improve Results After the First Pass
Once you have a workable image, improvement becomes more tactical. Ask a narrow question about the output:
- Is the composition correct but the lighting flat?
- Is the subject strong but the background noisy?
- Is the scene good but the crop wrong for the final channel?
- Is the design attractive but too generic for your brand?
Then fix only that issue.
For GenImg users, a reliable workflow looks like this: create the first concept, move into edits for local corrections, remove or simplify the background only if the subject is already right, and keep a lightweight library of prompt templates by use case.
If you are still early in the process, it can also help to start with a lower-cost exploration cycle and then scale once the concept is proven. GenImg surfaces a Free Credits path for users who want to keep iterating before committing to a broader production routine.
FAQ
How Do You Start with Get Better AI Image Results?
Start by defining one image goal and one subject. Then write a prompt in layers: subject, scene, style, composition, and constraints. That gives the model a stable direction from the first generation.
What Do You Need Before Using Get Better AI Image Results?
You need a use case, a preferred visual style, an intended aspect ratio, and a clear revision rule. If those are missing, the model has to invent too much on its own.
What Mistakes Slow Down Get Better AI Image Results?
The most common ones are vague prompts, conflicting style words, changing too many variables at once, and trying to polish a structurally weak image instead of fixing the composition first.
How Can You Get Better Results from Get Better AI Image Results?
Use short, precise prompts, revise one variable at a time, switch to editing once the concept is close, and save the prompt structures that consistently produce strong outputs.
Is Get Better AI Image Results Beginner-friendly?
Yes, if you follow a simple workflow. Beginners do best when they avoid overcomplicated prompts and treat generation, editing, and cleanup as separate stages.
Final Take and Next Step
If you want consistently better output, how to get better AI image results comes down to prompt clarity, controlled iteration, and using the right tool at the right stage. Do not ask one prompt to do everything. Build the image in passes, protect what already works, and refine only the part that needs attention.